The weather has been so beautiful lately…the grass is green, the flowers are in bloom, and I was inspired to make my first amigurumi bug. It was easy to decide which one, since I’ve always had a soft spot for ladybugs. They are one of the very, very few bugs out there that I will actually allow to crawl on my hand. I don’t know about you guys, but I’m a bit squeamish around crawly things. (Maybe it stems from some bad experiences with cockroaches when I was living in New York) But sweet lil ladybugs? They’re my friends. 🙂 Anyways, here is my latest pattern, available for purchase now!
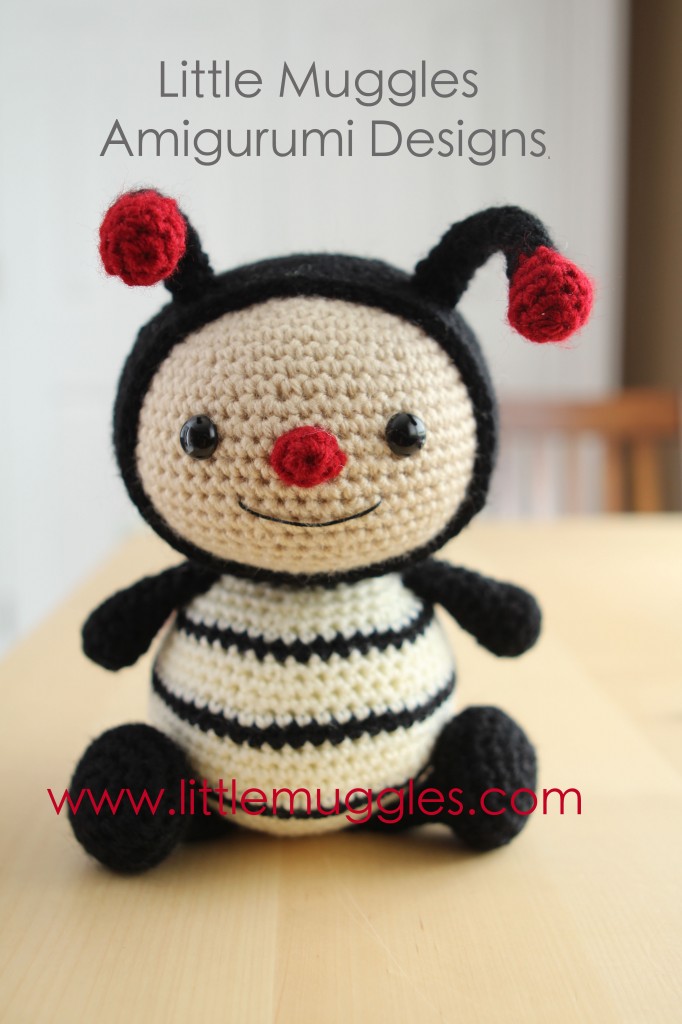
Meet Dottie, a real little cutie! You might be saying hey waitaminute – where are her other 2 legs? Well, the beauty of making your own amigurumi is that you can pretty much make it however you want! I decided to stop at 4 arms/legs just because I think it looks cute like this. I actually did intend to make this ladybug with 6 legs…the extra arms are sitting on my desktop at this very moment, but it was just a matter of personal preference to stop when I did. Of course, if you decide to make your own little Dottie, you can choose how many arms/legs you want to include!
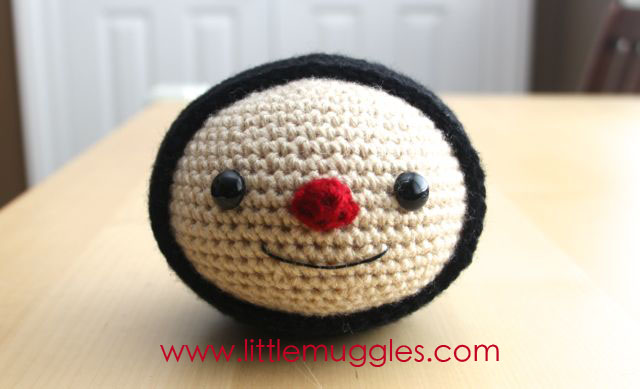
The head was my favorite part to do. Similar to my Cuddles the Sheep doll, I crocheted the inside beige portion first, and then made a snug fitting black portion to fit around it. I’m really happy with how it came out! I added the eyes and the nose and I think the cute little smile gives it a nice finishing touch. As you’ve probably noticed, I usually do not include mouths with my dolls, but for this one it just seemed right.
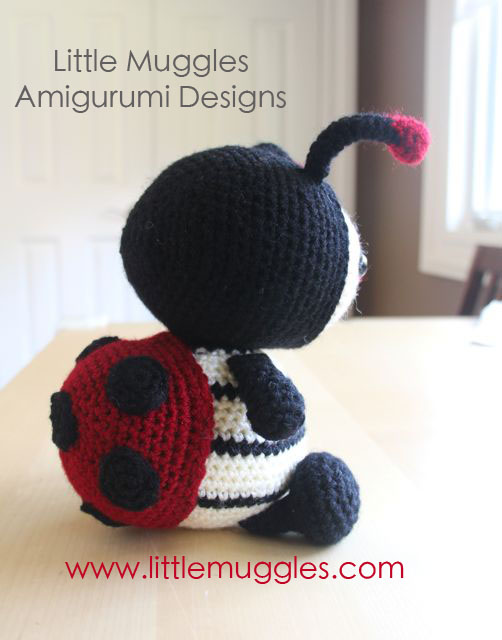
Here’s a view of the shell with the spots. A lot of people wonder about a ladybug’s spots, and whether it tells their age. Well, after some research, I can tell you that the spots have nothing whatsoever to do with age. Some ladybugs have lots of spots and some have no spots at all. Their coloration is simply thought to be a warning sign to keep predators away. Ladybugs produce toxic chemicals and supposedly taste terrible! So when making your own ladybug, feel free to put as few or as many spots on the shell as you prefer! Keep in mind that not all ladybugs have red shells either! Orange and yellow are also common colors for them.
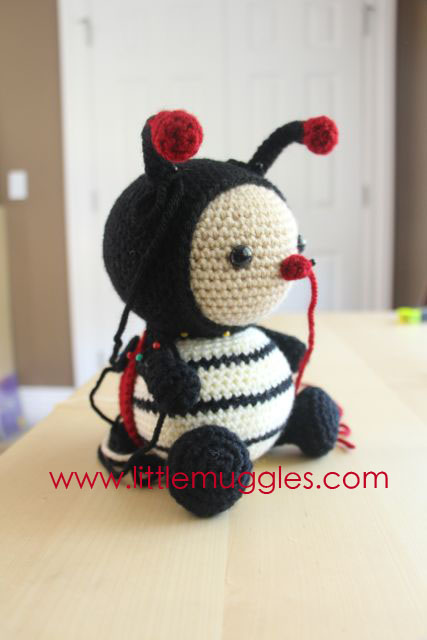
Here’s a pic of my work in progress. I always, always, pin all the parts of my dolls together before I even think about sewing. It’s the only way to tell if things look right before you commit to attaching parts together. I gauge proportion of the pieces and also check for symmetry by doing this!
I hope you all enjoy my little ladybug! This pattern has taken me a very long time to release, mainly because of my sudden super busy schedule! With the school year ending, there just seems to be a LOT of projects to finish and lots of summer planning to do! (With 3 elementary age kids, that’s a lot of juggling!)
As with all of my patterns, this doll can be made with the most basic of crochet skills! With some tweaks here and there, it can also be easily adapted to make a cute little bumblebee as well! Lose the shell, add some wings, and presto! A cute little bumblebee! Hmmm…I just might have to try that next! Happy crocheting, everyone!! Find this pattern at ETSY and CRAFTSY!

Love, love all your designs!
Thanks for sharing.I love ami.